

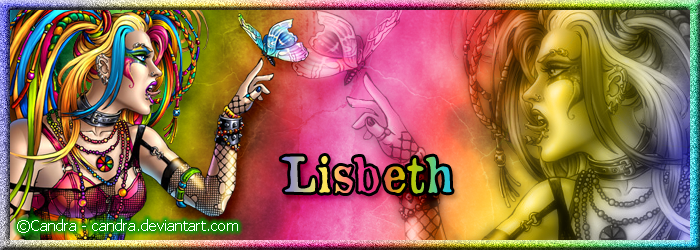
This tutorial was created due to me messing about in Photoshop
I thought that I would share on what I have done
This is a no scrap tutorial and I will try my best to explain on how I have done this
Sorry if this is a long tutorial as this is how I have done this
To try and help you a bit I have tried and include as many images as I can
If you need help then please get in touch with me
•♥•♥•♥•♥•♥•♥•♥•♥•♥•♥•♥•♥•♥•♥•♥•♥•♥•♥•
SUPPLIES:
Close tube of choice, this works best for this tutorial
I have used a FTU tube from Candra and downloaded it from Dymunart Creations HERE
You can view more of Candra's art on her Deviant Art page HERE
Texture of choice
I have used Texture Pack 8 by Sirius-sdz
You can view is DA page HERE
Font of choice
I've used OldNewspaperTypes for the main
and Tahoma for the copyright from Dafont HERE
•♥•♥•♥•♥•♥•♥•♥•♥•♥•♥•♥•♥•♥•♥•♥•♥•♥•♥•
SIGNATURE
Open a new document that's 700x250px
Open your tube of choice and hide the first 3 layers
I have gone for Tube 2 so I've hidden the Tube 1 layer
Now hold for a second and click on the top so you have the Gradient Tool option

This is where we are going to make our own gradient and
I will try my best to how I make one
On the top bar click on the edit bar as
shown on the image below:

You will see the Gradient Editor window opens and in the bar
set the colour stops to these settings:
Stop 1: 0%, Stop 2: 25%, Stop 3: 50%, Stop 4: 75%, Step 5: 100%

Now from the left click on the colour stop and choose
the colour from your tube that you want
Do the same for the others and below is an example of what I've done

Click on New and then OK and you have saved your
gradient that you can use later on
Now on your signature, go from any one corner to another
I have gone for top left to bottom right
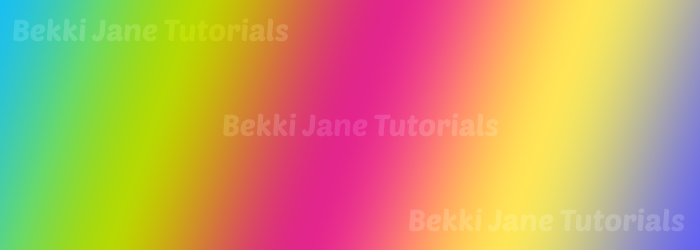
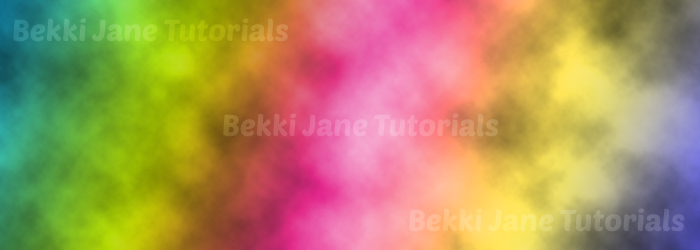
Duplicate the layer (Ctrl & T) and with your forground and background
to black and white go to Filter >> Render >> Clouds
On top of the Layers tab, change the layer mode to Hard Light
and the Opacity to 80%
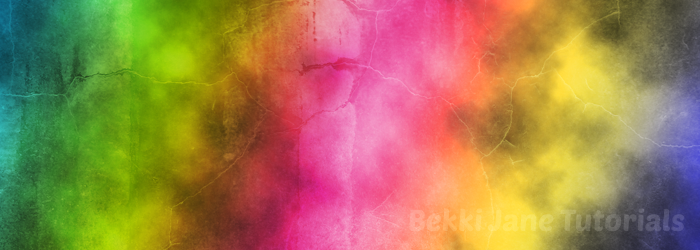
Open your texure of choice and we want this to be grayscaled,
so press Ctrl & U and move the Saturation to -100
Since this is a large texture resize this to smaller than actual size
I have gone for 700px in width
Copy and paste that to your gradient layer and set the layer mode
to Overlay and the opacity to 45%
Copy and paste your tube and move it to where you think is best
Duplicate that layer, click on the layer below and go
to Filter >> Blur >> Gaussian Blur, in the Radius
box type in 5 in the box and click OK
Change the layer style to Luminosity
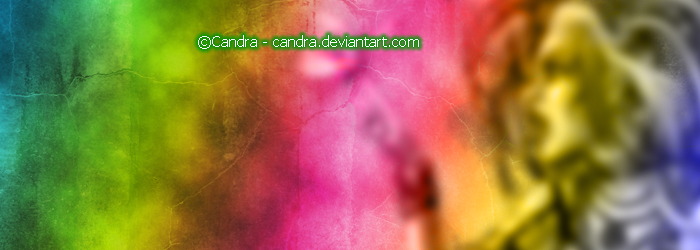
Click on the above layer and change the layer mode Luminosity
and the Opacity to 40%
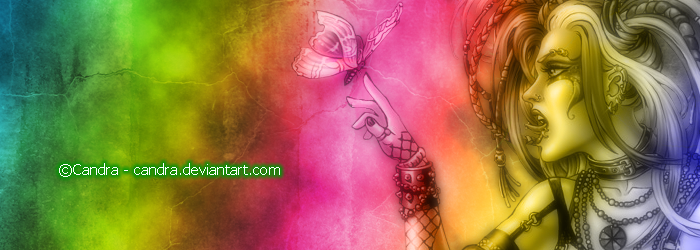
Copy and paste the tube again and go to Edit >> Transform >> Flip Horizontal
Free Transform (Ctrl & T) and hold down the Shift button, click and of the corners
and move so that it is smaller than the original size
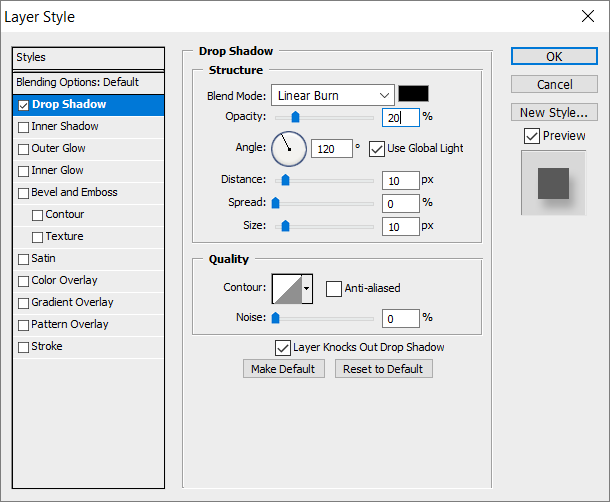
Double click on the layer, select Drop Shadow and use the settings similar to
the one that I have from the image below:
Flatten the image and go to Layer >> New >> Layer and click OK
Change from the Gradent Tool back to the Bucket Tool and fill that with any colour
Double click on that layer and select the Stroke
Change the size to 10 and the position to inside and click OK
New layer, move down, right click on the above and Merge Down
Magic Wand Tool, click in the middle with the Anti-alias off
This is our frame template
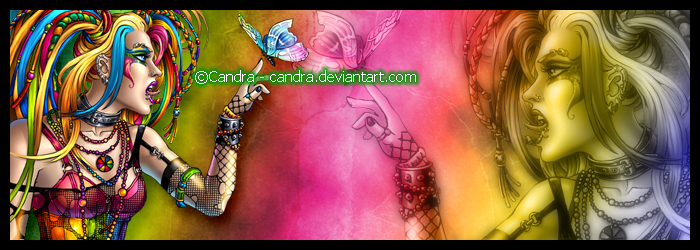
New layer and use the same gradient and use it in the opposite direction as before
Click on the bottom layer, grab your Magic Wand Tool click in the middle,
click on the above layer and delete
If you want go to Filter >> Noise >> Add Noise
In the Amount box type in a number that you want, Distribution: Gaussian and check Monochrome
Double click on that layer, choose Bevel & Emboss and click OK with the default settings
Add your name, the correct copyright and save as PNG
AVATAR
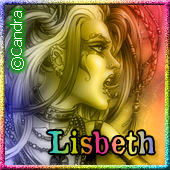

For the avatar, I have opened a new document that is 170x170px and
copy and paste the sig background as a new layer
I used the free trasform and made the hight to the same as the avatar
I have also done the same frame as the sig, but changed the stroke to 5
Finally add the correct copyright, name and saved as PNG
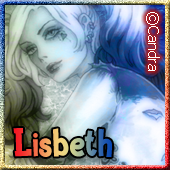
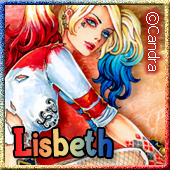
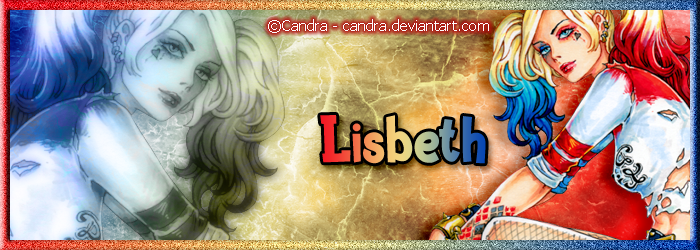
Below is an example of the same tutorial above
This time I have created a gradient of three stops
•♥•♥•♥•♥•♥•♥•♥•♥•♥•♥•♥•♥•♥•♥•♥•♥•♥•♥•
This tutorial is of my own creation
If it looks like any other tutorial then this is not my intention
All tutorials is of my own ideas
