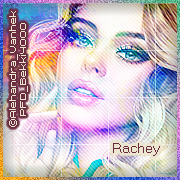

This tutorial is originally done using Paint Shop Pro
I have permission to convert this tutorial for Photoshop
The original tutorial can be found HERE
•♥•♥•♥•♥•♥•♥•♥•♥•♥•♥•♥•♥•♥•♥•♥•♥•♥•♥•
SUPPLIES:
Tube of choice - Used Sugar Cloud from Alehandra Vanhek
This is an exlusive tube from Pics for Design HERE
MPM_mask134 from Millies PSP Madness HERE
Fonts of choice
Splatter bushes of choice - used this pack HERE
OPTIONAL: Brush converter - abrViewer HERE
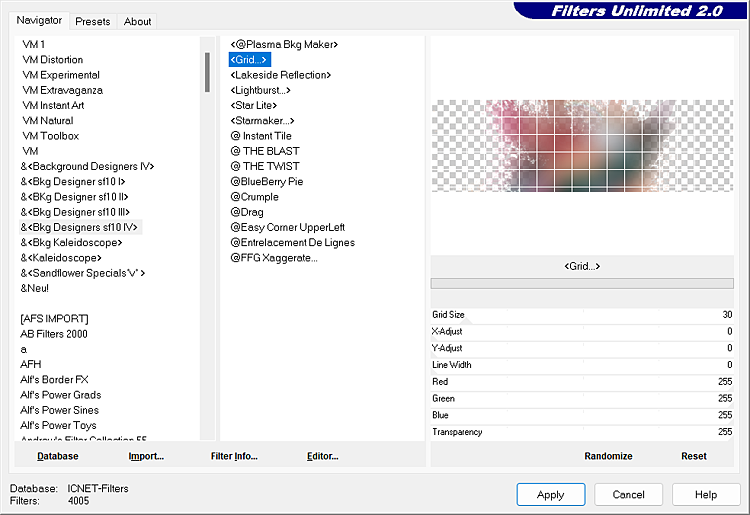
Filter - Background Designer 4-Grid HERE
Place this in your Filters Unlimited 2 within your PS filters folder
•♥•♥•♥•♥•♥•♥•♥•♥•♥•♥•♥•♥•♥•♥•♥•♥•♥•♥•
Always check my final tag, signature or avatar for placements, etc
Apply drop shadows, sharpen, etc to your own liking after resizing
You will need a good working knowledge of PS, though your version may have settings in different places, I use PS CS5
•♥•♥•♥•♥•♥•♥•♥•♥•♥•♥•♥•♥•♥•♥•♥•♥•♥•♥•
Open a new image 800x250px with a white background
Open up spray_spatter_brush_pack _by_outlinez_7
Resize that to 30% and place to the right
Open up spray_spatter_brush_pack _by_outlinez_6
Resize that to 30% and place to the left
Open up spray_spatter_brush_pack _by_outlinez_3
Resize that to 30% and place in position
Move layers down twice and Edit >> Transform >> Rotate 90 degrees CCW
Move to the right and it should look something like below:

Just have a play about with the splatters to see what you come up with
Hide the Background layer and right click on any of the above layers and Merge Visable
Open up your chosen texture and paste that as a new layer on your canvas
Move to where you think is suitable on the below layer, hold the Ctrl and click on splatter layer
Inverse, the top layer, Delete on the keyboard and deselect
Should look something like the one below

Go to your tube image and I've copy and paste the tube as a new layer
I've then moved the tube to where I want it and used the same settings as the texture layer
This time I have Inverse that layer and keep that layer selected
Filter >> Blur Gaussian Blur, Radius to 30, click OK, then deselect
Cut, paste to the same canvas and move to the exact place where your original spatter layer is
Filter >> Filters Unlimited 2.0 >> BKg Designers sf10 1V-Grid

Click Apply
I have change the layer mode to Soft Light
This is optional but I've used the same settings as the texture layer, made "marching ants"
from the original splatter layer and removed the grid from outside top splatter layer
Now bring up your tube tube layer and since mine in a large tube I've resized mine to about 65%
Copy and paste to your canvas, Edit >> Transform >> Flip Horizontal
I've used the same settings as the texture layer
Still on your tube layer change the layer mode to Overlay or one of your choosing
Duplicate the layer, and change the Opacity to 75%
Duplicate again, change the Opacity to back 100% and move this down twice
Filter >> Blur >> Gaussian Blur and this time change the Radius to 5
Change the layer mode to Screen and this is optional I have changed the Opacity to 25%
The following step are optional
I have added Penta.com - Jeans, default settings to the original tube
If you want add some elements, brushes, etc like I've done to mine
Add a border of your liking, your name copyright and save as PNG
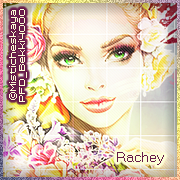
If you want a matching avatar, copy and paste your banner to a new 180x180px
Resize and add border, copyright name and save as PNG


This tutorial was converted by Bekki on November 18 2022, with permission
Any similarities to this tutorial are purely coincidental & unintentional
