
This tutorial was written for those with knowledge of Photoshop
If you don't have Photoshop then this can easily be converted
for Paint Shop Pro or GIMP
•♥•♥•♥•♥•♥•♥•♥•♥•♥•♥•♥•♥•♥•♥•♥•♥•♥•♥•
SUPPLIES:
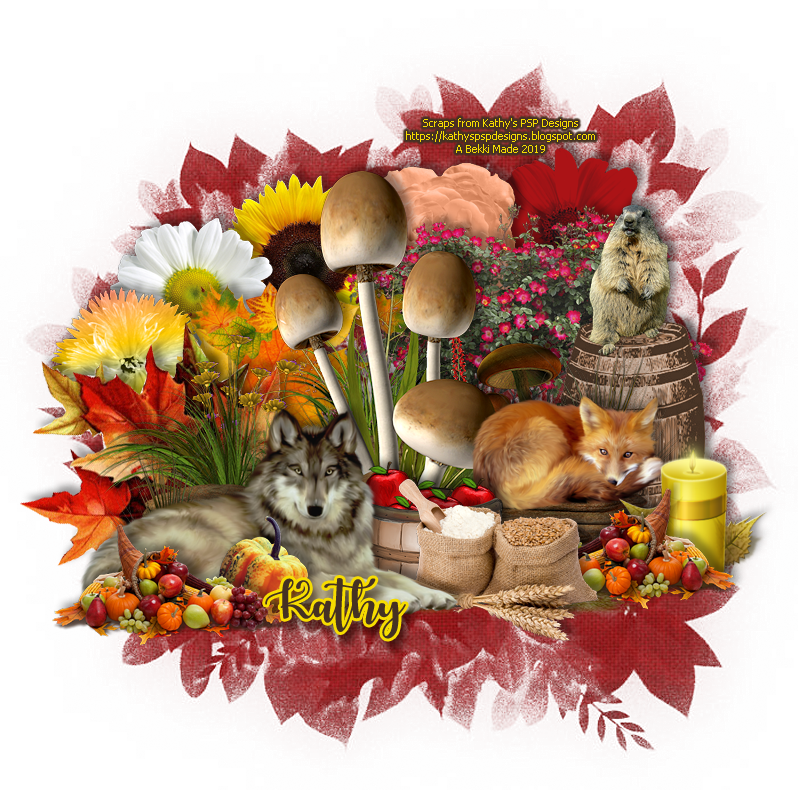
Scrapkit: FTU called Gather Here from Kathy's PSP Designs HERE
Tube: None, this is a kit only tutorial
Mask: I have used DD_FallMask_4 HERE
Font: Sexy Beauty for the main and GelPen, Tahoma or Arial for copyright HERE
OTHER INFORMATION:
Drop shadow for this tutorial is:
Blend Mode: Multiply
Opacity: 40%
Angle: -135
Distance & Size: 8px
Spread: 0px
•♥•♥•♥•♥•♥•♥•♥•♥•♥•♥•♥•♥•♥•♥•♥•♥•♥•♥•
Open a new document that is 800x800px
Open kggatherhere11.png and copy and paste that to your blank canvas
Before you copy and paste you can resize if you wish
Apply the drop shadow mentioned in the other information section
Open kggatherhere24.png and resize
Copy and past that as a new layer and position
Check my final tag for the position
Below is the order of the other elements that I've used
Up to you on the size and check my tag for the position
If any of the elements are mirrored the go to Edit >> Transform >> Flip Horizontal
Please remember your drop shadow after every element
Elements used are in order that I have used them and they could be duplicates
kggatherhere38
kggatherhere49
kggatherhere55
kggatherhere29
kggatherhere30
kggatherhere67
kggatherhere19
kggatherhere66
kggatherhere99
kggatherhere25
kggatherhere86
kggatherhere91
kggatherhere98
kggatherhere71
kggatherhere38
kggatherhere92
Merge visible all of the layers, open the paper that you want to
use and the mask that you want to use
First copy and paste the paper, then the mask and apply
If you want to learn how to use masks in Photoshop then
you can view my tutorial here
Finally apply your name the correct copyright and save as png
•♥•♥•♥•♥•♥•♥•♥•♥•♥•♥•♥•♥•♥•♥•♥•♥•♥•♥•
This tutorial was written by Bekki Jane Tutorials
Any resemblance to any other tutorial or tag is purely coincidental
All my tutorials act as a guide only