


This tutorial was written by Bekki on Monday 1st June 2020
If this looks like any other tutorial then it was not my intention
Done using Photoshop CS5, but if you know your settings can be done in any version
If you don't have PS then it can be done in PSP or GIMP if you follow the tag
This tutorial acts like a guide a guide only
SUPPLIES:
Kit: Princess mini from Karmalized Scraps
Tube: CHPBeauty from Chris Pastel
This tube was free as part of her 2019 Advent Calender
You will still need a license to use it
Mask: DD_NFM2017_3 from Dee'signs Depot
Font: Beatrix for main and Tahoma for copyright
DROP SHADOW:
Blend Mode: Multiply
Opacity: 30%
Angle: -135
Distance & Size: 5px
Spread: 0px
OTHER INFORMATION:
For using masks in PS, please follow this How to tutorial
•♥•♥•♥•♥•♥•♥•♥•♥•♥•♥•♥•♥•♥•♥•♥•♥•♥•♥•
Open a new document of any size
We will be resizing at the end
Open Frame_03.png, resized if you wish and copy
and paste that as a new layer
Open Paper_01.jpg, resize if you wish and copy and paste that as
a new layer below the frame layer
Take your Magic Wand Tool, click frame layer, select in the inside of the frame,
back to the paper layer and Select >> Modify >> Expand
Type in any number in the box and click OK
Select >> Inverse, delete and deselect
Open your tube and if it has layer match it to your kit
With mine I have used girl1, ribbinhairs1, dress3 and magicwand4
Merge those layers, with your Rectangular tool select about half way
and then copy and paste that below the frame layer
Ctrl & T (Free Transform), hold shift, grab one of the corners, resize and click tick
Apply drop shadow (if using), move that to the top and line up and line up to the bottom
To remove part of the bottom, click the bottom layer, take your Polygonal Lasso Tool,
make a rough curve round the bottom, delete and deselect
Open Element_24.png and resize
Copy and past that as a new layer and position
Check my final tag for the position
Below is the order of the other elements that I've used
May use the same element more than once, but it is the order that I have done the lat/elements
Up to you on the size and check my tag for the position
If any of the elements are mirrored the go to Edit >> Transform >> Flip Horizontal
For the bordering under the frame I have used various of the floral
elements around the frame and position as I want
This is up to you on how you do this and won't be listing on what I used
Just the main elements in front of the frame
Element_19
Element_17
Element_10
Element_25
Element_30
Element_16
Element_01
Element_18 (x3)
Element_06
Element_15
Hide the background layer, click on any layer, merge visible, apply mask,
(resize to your liking), copy paste as new image, name, copyright and save as PNG
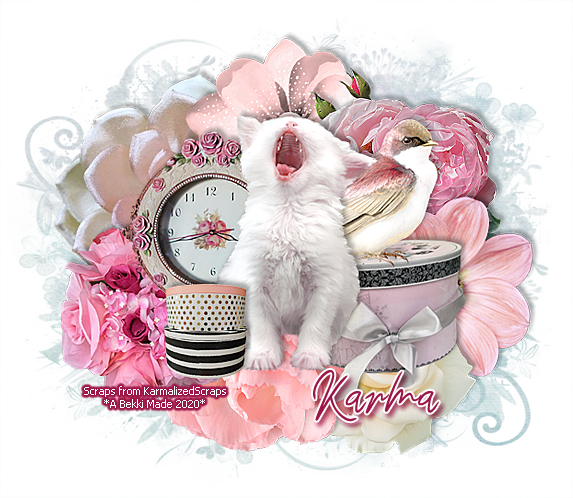
For the signature, used elements from the kit and made it into a cluster
This way is yours and how you do it is up to you
If you want an idea, please look at the top of for an idea
Finally for the avatar, used the sig a few times to cover the white background,
add the border name, copyright and saved both as PNG files