


This tutorial I have converted from Photoshop and if you want to view the PS tutorial, please go HERE
I have used used Paint Shop Pro X5, though this will work in your version if you know your way round
Like the PS tutorial, this is no scraps and it maybe long, but I have tried to include as much images as possible
If you need help then please contact me and I will try my best
•♥•♥•♥•♥•♥•♥•♥•♥•♥•♥•♥•♥•♥•♥•♥•♥•♥•♥•
SUPPLIES:
Tube of choice, close works best for this
I have used a FTU from Lia and downloaded it from Dymunart Creations HERE
Sorry but Lia's site is no longer online
Texture of choice
I have used Texture Pack 8 by Sirius-sdz
You can view is DA page HERE
Font of choice
I have used Sugar Kisses Personal Use for the main
and Tahoma for the copyright HERE
Filter used MuRa's Meister Cloud
•♥•♥•♥•♥•♥•♥•♥•♥•♥•♥•♥•♥•♥•♥•♥•♥•♥•♥•
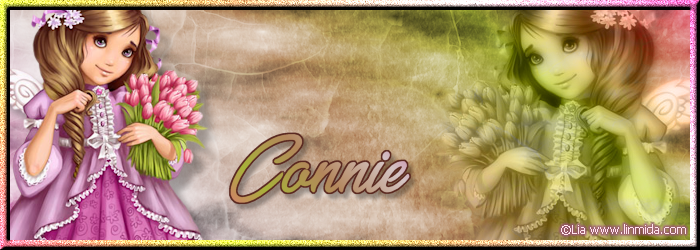
SIGNATURE
Open a new document 700x250px
Open your tube and remove the copyright on the tube
Click on the foreground and select the Gradient tab
Click new, type in the box any name that you want and click OK
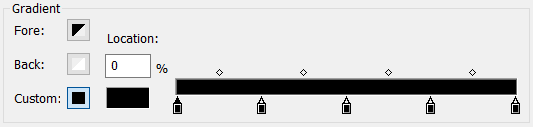
Now make a gradient with these stops:
Stop 1: 0%, Stop 2: 25%, Stop 3: 50%, Stop 4: 75%, Step 5: 100%
Below is the stops before you make your gradient
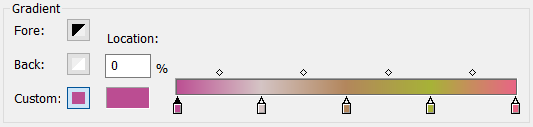
Click on each stop and you will now have a gradient like the one below
Please remember to save your gradient
With your new gradient change the Angle to 45, leave the rest alone and OK

Set your foreground and background to black and white, create a new layer and
go to Effects >> Plugins >> MuRa's Meister >> Clouds
Leave the settings alone and click OK
Change the layer mode to Hard Light and the Opacity to 80%
Open your texture and go to Image >> Grayscale
Resize that to lower than the original size
I have gone for 700px in width
Copy and paste that to your signature background
Change the the layer mode to Overlay and the opacity to 45%
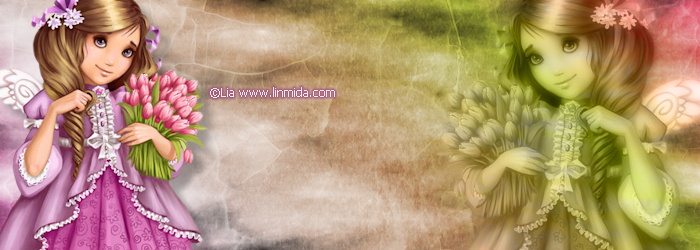
Copy and paste your tube with this I have Flip Horizontal
Duplicate the layer, click on the below layer and go to Adjust >> Blur >> Gaussian Blur
In the Radius box type in 5 and click OK
Change the layer mode Luminance (Legacy)
Click on the above layer and change the layer mode Luminance (Legacy)
and the Opacity to 40%
Go back to your tube layer and resize if you wish
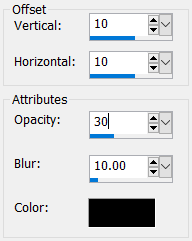
Copy and paste that and go to Effects >> 3D Effects >> Drop Shadow
and use the settings below:
Create a new layer and fill that with the same gradient as before
This time make sure that you check Invert
Select all the layer and go to Selections >> Modify >> Contract
Contract the layer by 10, click OK and hit the delete button
If you want go to Adjust >> Add/Remove Noise >> Add Noise
and in the Noise box type in 30 and click OK
Go to Effects >> 3D Effects >> Inner Bevel and use the settings below:
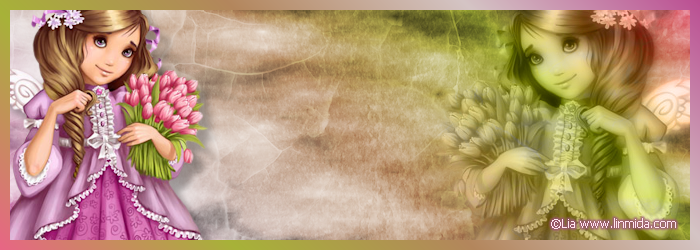
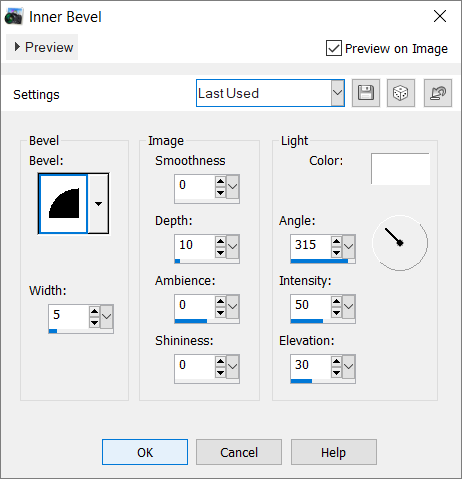
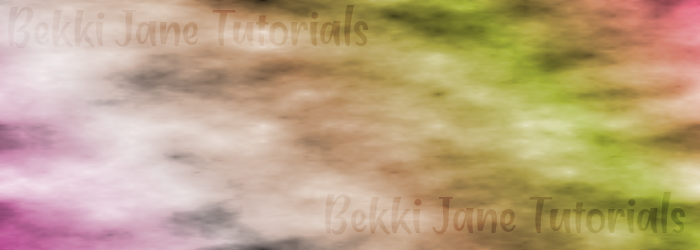
Now add your name, the correct copyright and save as PNG
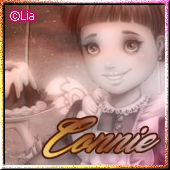
AVATAR
All I do is open a new document that is 170x170px
I then copy and paste that to the avatar background
Mirrored the signature and positioned
I then add the same same frame as I did with the signature,
though this time I contracted the layer to 5
Finally the correct copyright added, name and saved as PNG
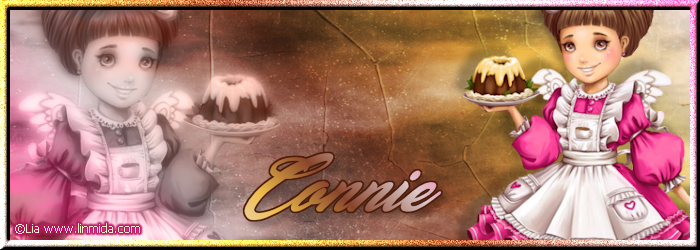
Done the exact same for the other side


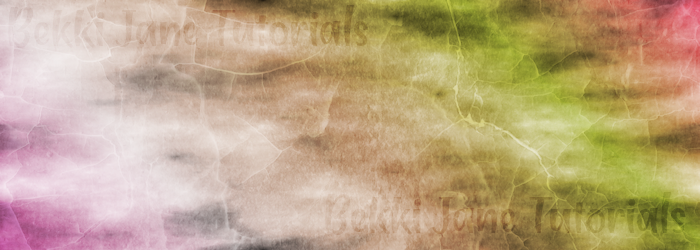
Below is an example of the same tutorial above
Again with my own gradient from the tube

•♥•♥•♥•♥•♥•♥•♥•♥•♥•♥•♥•♥•♥•♥•♥•♥•♥•♥•
Mess about with the settings, change the gradient snd make this your own
This tutorial is only a guide so have fun and play