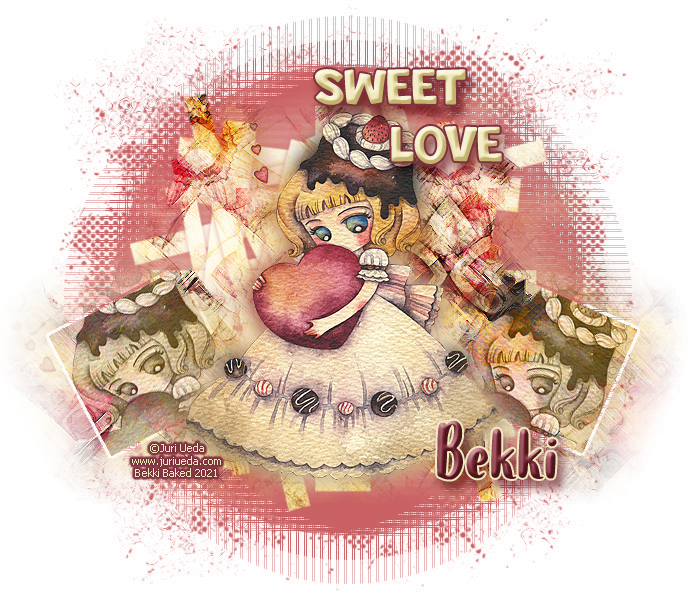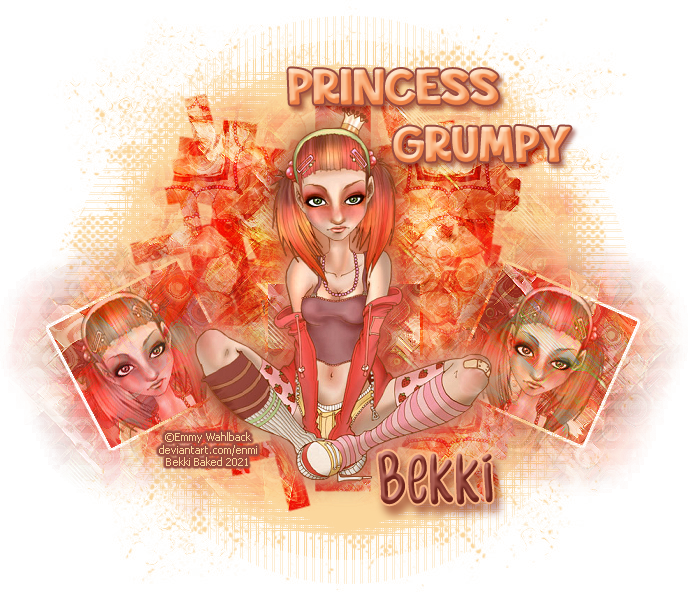
This tutorial uses nothing but the built in Photoshop filters and also some outside filters
This is also my own idea, so if it looks like someone else's, then it is not my intention
I will try to explain on how I do each step to the best of my ability
This tutorial acts like a guide and the finish result is yours for personal use
I have used Photoshop CS5, though if you know your way round then this will work in all versions
This tutorial was written on Saturday 20th July 2020
•♥•♥•♥•♥•♥•♥•♥•♥•♥•♥•♥•♥•♥•♥•♥•♥•♥•♥•
SUPPLIES:
Tube of choice
I have used a free one from Emmy Wahlback
This is a forum group permission that I am a member of, though any tube will work
Masks used are SophisticatSimone_Mask12 from Sophisticat Simone and WSL_Mask147 and WSL_Mask531 from Weescotlass Creations
Fonts Pure Joy for "wordart" and samble for the main and Tahoma for the copyright
OUTSIDE FILTERS:
MuRa's Meister - Copies
dsb flux - Bubbles
Mehdi - Fur
DROP SHADOW (if using):
Blend Mode: Multiply
Opacity: 30%
Angle: -135
Distance & Size: 7px
Spread: 0px
OTHER INFORMATION:
To make your own gradient, please follow a part of this tutorial here
To use masks in Photoshop please follow this How to tutorial here
•♥•♥•♥•♥•♥•♥•♥•♥•♥•♥•♥•♥•♥•♥•♥•♥•♥•♥•
Open a new document 800x800px
Open your tube, remove the copyright and Select >> All, Edit >> Copy, blank canvas, Edit >> Paste
Filter >> MuRa's Meister >> Copies and use the settings below:
(Click on the image to view at full size)
If needs be press CTRL + F to repeat the filter and if the window pops up, click OK
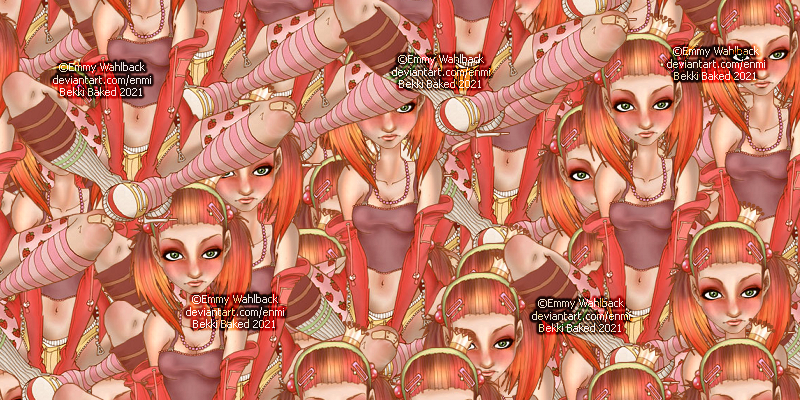
(Shown at half the size to save on space)
Press CTRL & J to duplicate the layer a few times
Where you see an eye next your layer on the Layers Palette,
click on them until so that they are hidden apart apart from 1
Click on the first layer that is shown
Go to Filter >> Brush Strokes >> Angled Strokes and use the settings below:
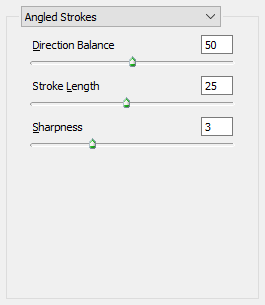
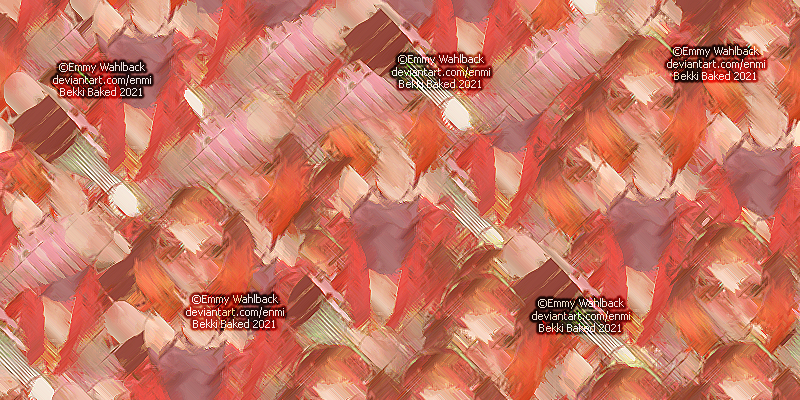
(Shown at half the size to save on space)
Click on the top layer and un-hide the layer
Filter >> dsb flux >> Bubbles and use the settings below and set the layer to Soft Light
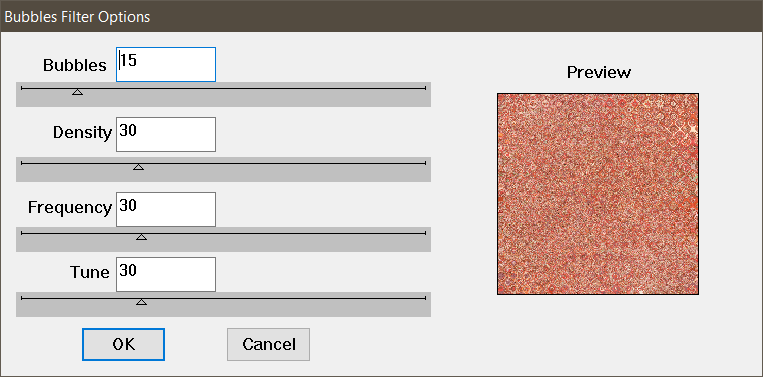
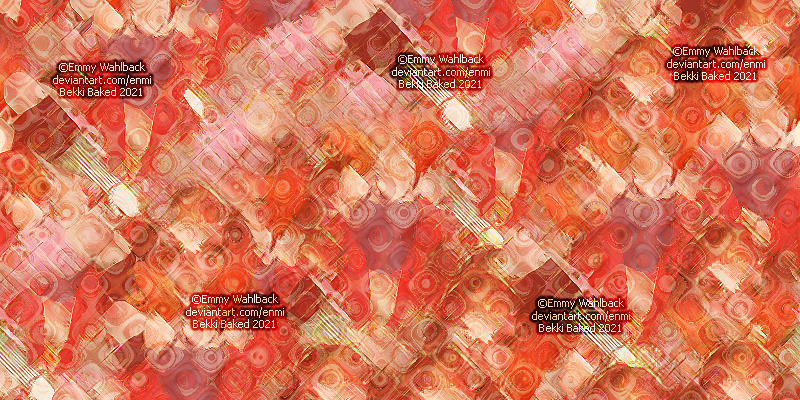
(Shown at half the size to save on space)
Right click on that layer and Merge >> Down
Leave this open for now as we will come back to it later for now Select >> All and Edit >> Copy
Open a new document of 800x800px and Edit >> Paste
Open SophisticatSimone_Mask12 and do my How to on Using Masks tutorial with any colour
Edit >> Copy and Edit >> Paste on the your background layer
Move the mask layer to a suitable part of your background layer
Still on the mask layer press CTRL and right click on the layer preview
Select >> All, either hide or delete the layer, click on the background layer, Select >> Invert and delete
Duplicate the layer (Ctrl & J)
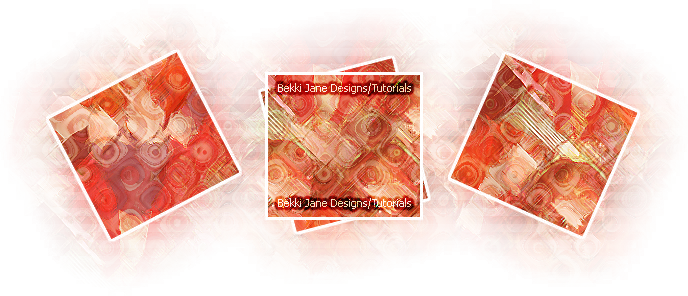
Copy and paste your tube layer to where your mask layer is
Move your mask layer to a suitable place
If you want the position, please look at my final tag
Duplicate the tube, press CTRL & T (Free Transform), in the angle box type in -27.75,
and at the top click on the tick to confirm
Do the as your did with your mask layer and change the layer mode to Luminosty and the Opacity to 80%
Repeat as above, though this time in the angle box above put in 24.20
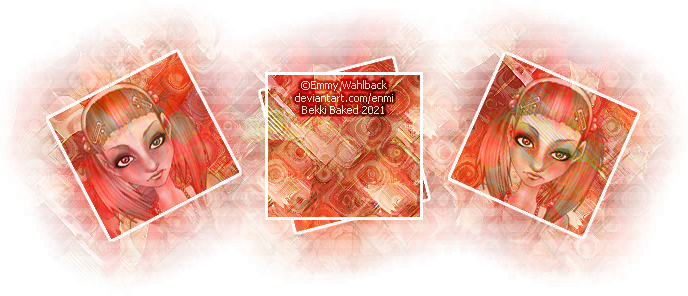
Go back to your where you have made your background
We will be adding to the merge layer below
Un-hide and click on the above layer
Filters >> Mehdi >> Fur, use default settings and click OK
Change the layer mode to Soft Light
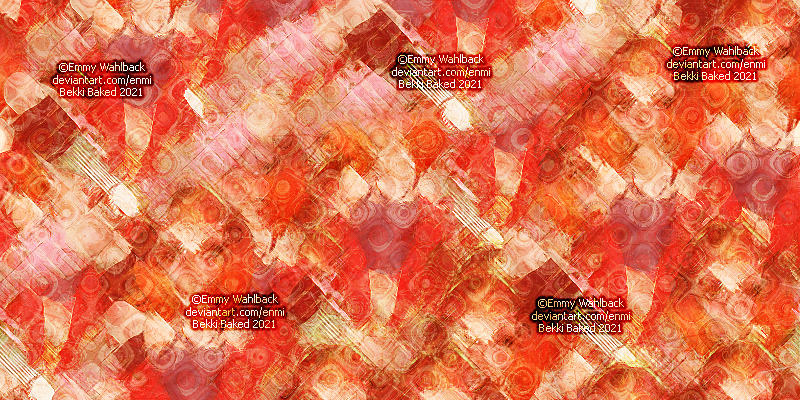
(Shown at half the size to save on space)
Un-hide and click on the above layer
Filter Tessela >> Tessela 0-2 default settings and press OK
Change the layer mode to Soft Light, duplicate (CTRL & J) and the Opacity 80% of the duplicated layer
This is our second background
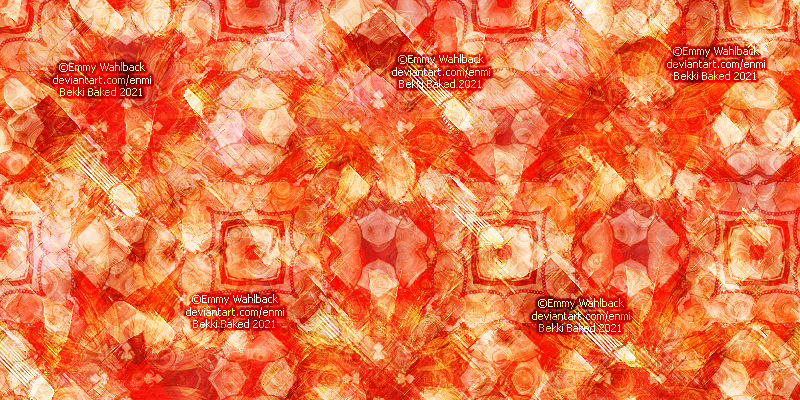
(Shown at half the size to save on space)
Open WSL_Mask147 and do the exact same as the first mask
I am not going to say it all again as I've said it above
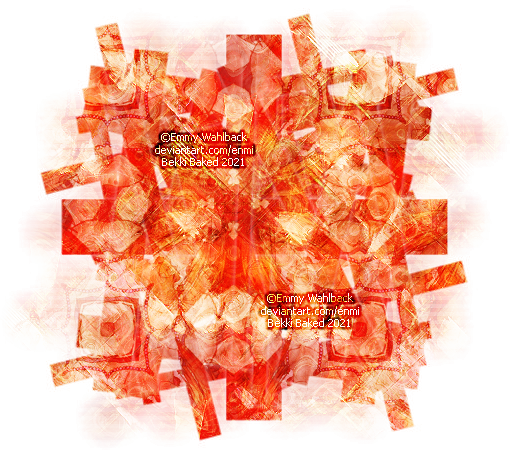
Duplicate the tube layer and click on the bottom layer
Filter >> Blur >> Gaussian Blur, in the Radius box type in 10 and click OK
Duplicate the layer (CTRL & J)
Finally open WSL_Mask531 and do the same mask, though this time it is a solid colour
I have gone for a light yellow with this mask
Copy and paste that to below all the layers
Hide the background, right click and Merge >> Visable
Select >> All, Edit >> Copy, File New and Edit >> Paste
Add the correct copyright, your name, un-hide the background layer and save as PNG
•♥•♥•♥•♥•♥•♥•♥•♥•♥•♥•♥•♥•♥•♥•♥•♥•♥•♥•
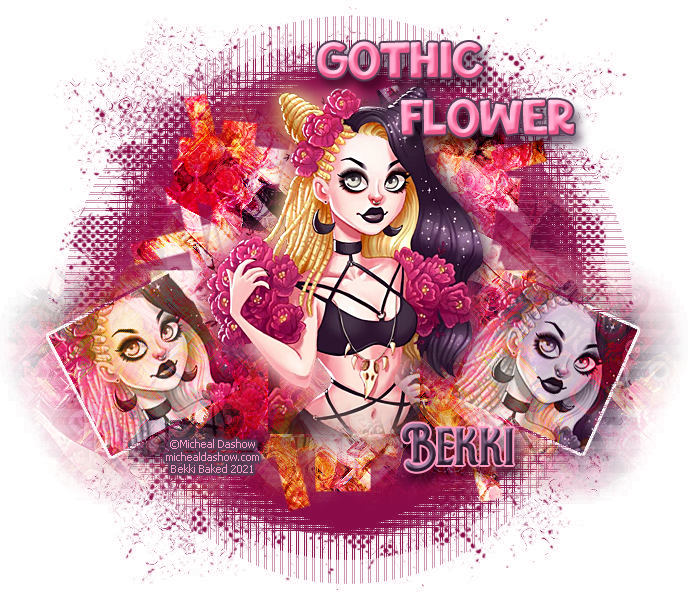
For the example I have used Micheal Dashow (group permission) and for the first one I have upped the stroke to full
The second example is from Lia Minda

Last example is from Juri Ueda and this is another group permission
