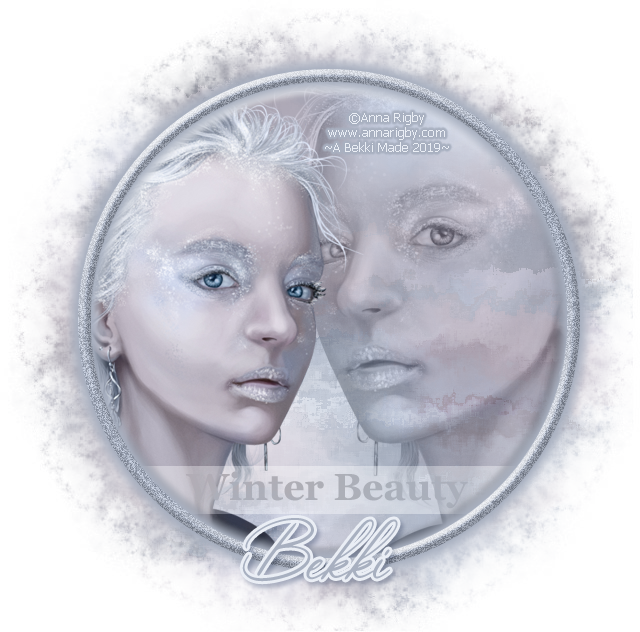
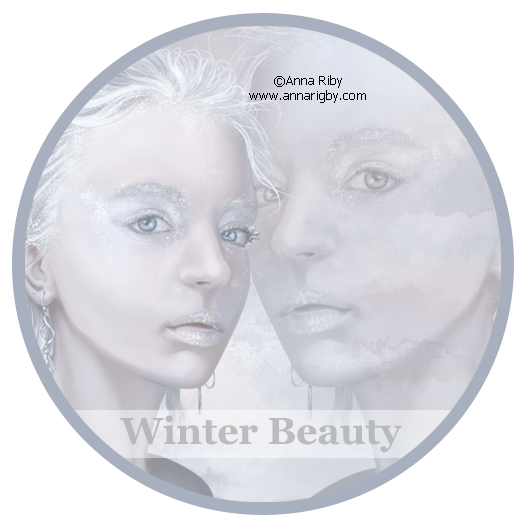
Messing about in Photoshop again and came up with this
I will try and explain, with screenshoots, of what I have done
This uses no scraps just some outside, in filters
Made using Photoshop CS5
•♥•♥•♥•♥•♥•♥•♥•♥•♥•♥•♥•♥•♥•♥•♥•♥•♥•♥•
SUPPLIES:
Tube: I have used a free one that I have downloaded from Creative Misfits though any tube will do
Mask: MPM_mask28 from Millies PSP Madness HERE
Fonts: Georgia for the "bar", Beautiful Heart for the your name and Tahoma for the copyright
Outside Filters: MuRa's Filter, Wallpaper and Eye Candy 4000 Gradient Glow
•♥•♥•♥•♥•♥•♥•♥•♥•♥•♥•♥•♥•♥•♥•♥•♥•♥•♥•
STEP 1:
Open a new document that is 800x800px
STEP 2:
Open the tube that you want to use and with the Color Picker select the colour that matches the tube
I have gone for #a8b0c0
STEP 3:
Select your Ellipse Tool, hold down the shift and draw a circle that is about 500x500px
This is an estimate and roughly do it to that size
If it is over slighty doesn't matter also
Right click on the layer and select on Rasterize Layer
Select All, Edit >> Cut and then Edit >> Paste
This needs to be in the centre of the canvas
STEP 4:
Now select any colour that you want and on the layer palette, hold down Ctrl and click where you see the small circle
You will now see "marching ants" round the circle
Layer >> New >> Layer and with the Bucket Tool fill that in
Select >> None and Ctrl & T
This will activate the Free Transform
In the height and width boxes type in 95% and then click the tick
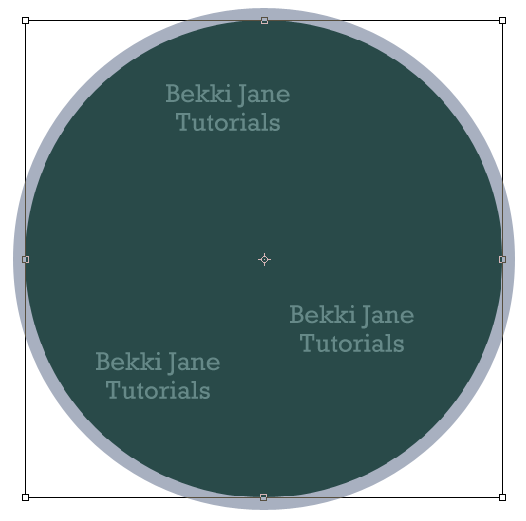
Now do the same as the bottom layer, delete that layer and then delete the middle of the circle
We now have a circular frame
Rename this Frame
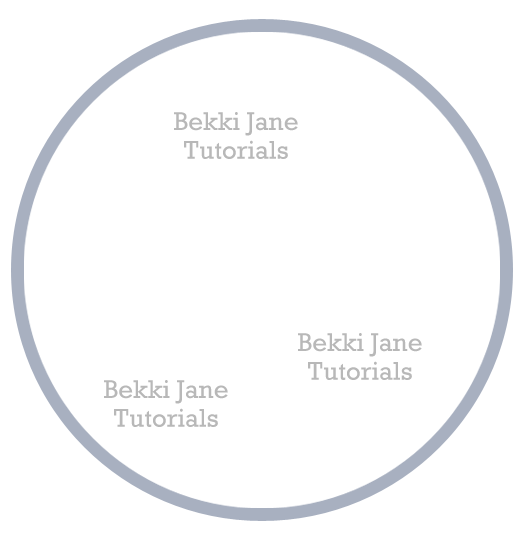
STEP 5:
Go back to your tube and remove the copyright and everything else that is on there
Resize if you wish and copy and paste that to below the frame
Rename this to Tube 1
Back to the tube layer, undo and copy and paste to below your resized layer
Edit >> Transform >> Flip Horizontal and move to the right or to where you think is best
Rename this to Tube 2
STEP 6:
Hide your Frame, and Tube 2 layers (click on the eyes to hide)
Right click on the Tube 2 layer and Duplicate layer
When the window comes up click OK
Hide the Tube 2 copy and click on the Tube 2 layer
Filter >> MuRa Meister >> Copies
In the dropdown and choose Wall Paper default settings
Click on the image to view at full size
STEP 7:
Go to Filter Blur >> Motion Blur
Use the settings from the image below:
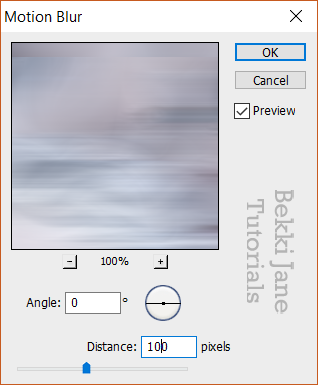
When you click OK you should see something below:
Click on the image to view at full size
STEP 8:
Filter >> Brush Strokes >> Sprayed Strokes
Use the settings from the image below
In the preview that you can see to your left is the splatter effect
Click on the image to view at full size
Rename this layer Background
STEP 9:
Duplicate the Background layer like you done in Step 6 and hide the Background layer
This will be our mask layer at the end
Unhide all of the layers and click on the Frame layer
Select your Magic Wand Tool and click in the middle of the frame
Select >> Modify >> Expand and type in the box 3 and click OK
Select >> Inverse, click on the Tube 1 layer and press Delete
Do this for the Tube 2 copy and Background copy layers
Select >> Deselect
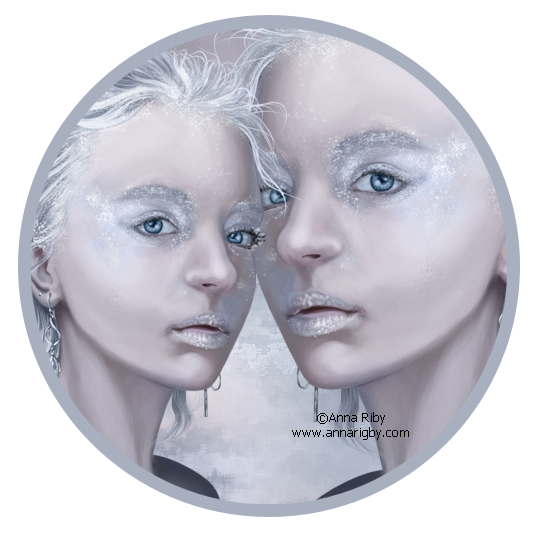
STEP 10:
Click on your Tube 2 copy layer and change the layer mode to Luminosity and the Opacity to 60%
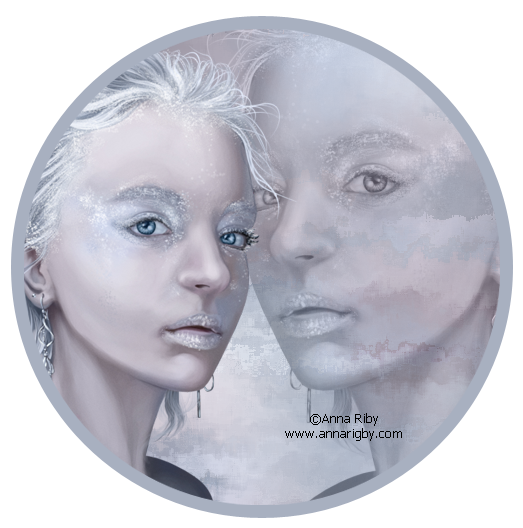
STEP 11:
Hide your Frame and default Background layers, right click an visable layer and merge visable
Unhide the layers
Select your Text Tool, same colour as your Frame type in a word or two that you want
I have gone for Georgia and Winter Beauty
Move the text to near the bottom and middle
Right click on the text layer and Rasterize type
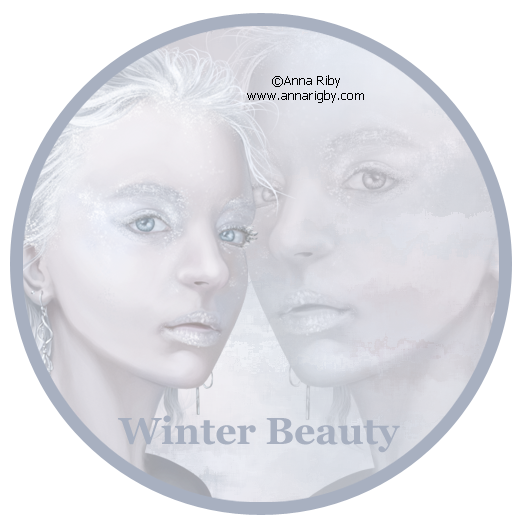
I have lowered the Opacity so you can see the text
STEP 12:
Select your Rectangular Marquee Tool and draw a rectangle around your text layer
Make sure that your rectangle selection is outside the Frame layer
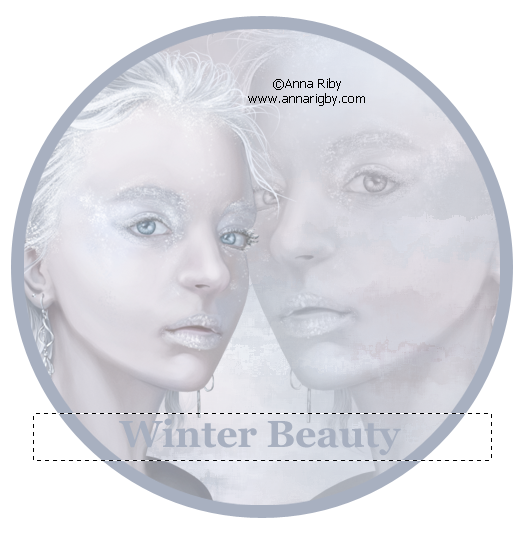
Still have the Opacity lowered of the main inside image
STEP 13:
Flood fill that with white and move the layer down below the text
Change the layer mode to Soft Light
Create a new layer and use the same settings as Step 4 to remove the outside white areas
Click on the text layer and change the layer mode to Luminosity
If you want change the Opacity to anywhere between 60-80% depending on your text colour
STEP 14:
Hide the Frame and the default Background layer and follow the steps again from Step 11
Double click inside the frame and use the settings from the image below:

STEP 15:
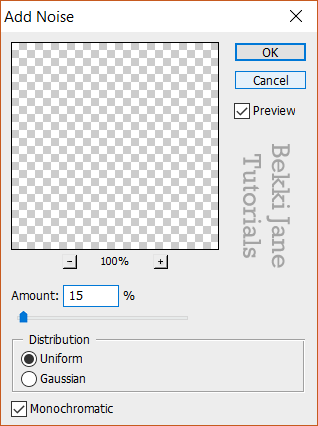
Click on the Frame layer Filter >> Noise >> Add Noise
Use the settings from the layer below:
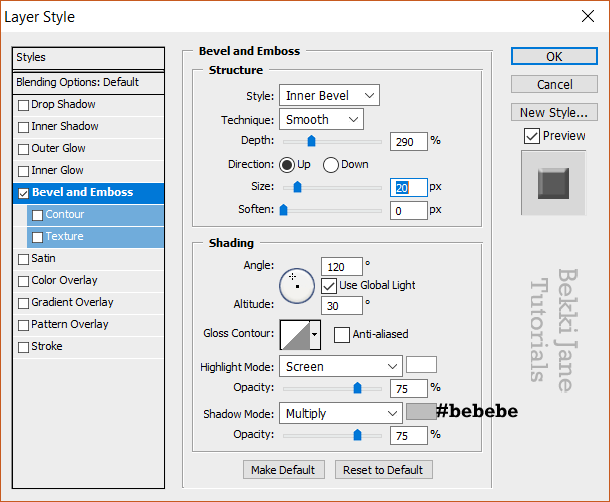
Double click on that layer and use the settings from the image below:
Filter >> Eye Candy 4000 >> Gradient Glow
Use default settings and in the Color select your Frame colour and in the basic, select the glow width to your liking
FINISHING TOUCHES:
You know the background that we've made in Step 8, unhide and apply your mask
I have done a how to tutorial on using masks in Photoshop HERE
Either crop or copy and paste as a new image to remove most of the background
Hide the default Background layer, add your name, the correct cpyright and save as PNG
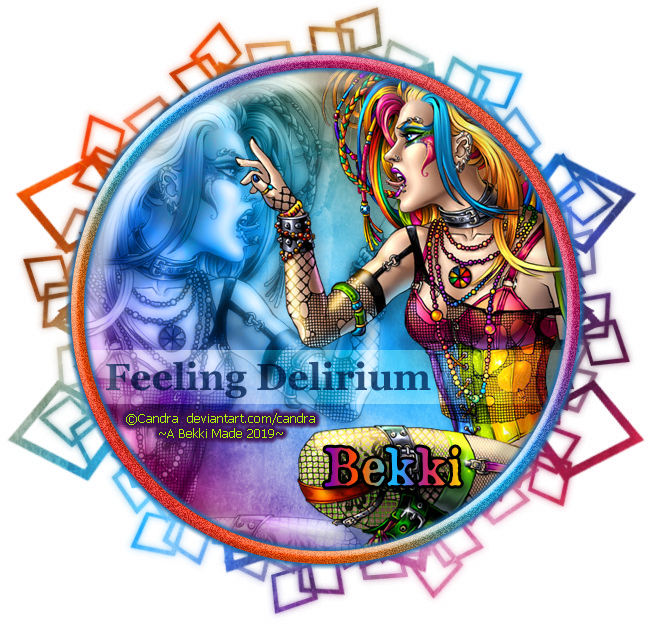
Below is a couple of examples that I have done using images from Juri Ueda and Candra

•♥•♥•♥•♥•♥•♥•♥•♥•♥•♥•♥•♥•♥•♥•♥•♥•♥•♥•
This tutorial belongs to Bekki Jane Tutorials
If this looks like any other tutorial, then it is not my intentional
All my tutorial acts like a guide only


